Bootstrap Image Placeholder
Introduction
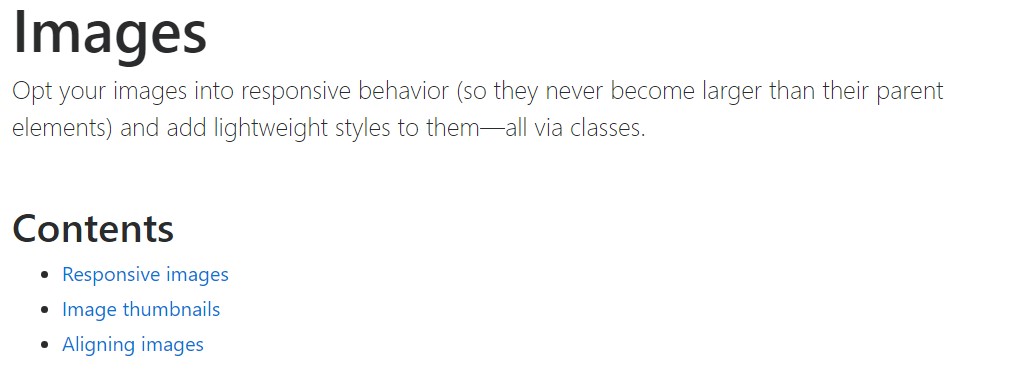
Take your pics in responsive behaviour (so they not under any condition end up being larger in size than their parent elements) plus add in lightweight formats to all of them-- all by using classes.
It doesn't matter how impressive is the content present in our web pages no doubt we need to have certain as strong pictures to back it up getting the content truly glow. And due to the fact that we are in the mobile phones era we likewise desire those illustrations functioning correctly so as to present finest at any display screen size given that nobody likes pinching and panning around to become able to actually view just what a Bootstrap Image Template stands up to show.
The gentlemans responsible for the Bootstrap framework are nicely conscious of that and out of its foundation the absolute most popular responsive framework has been supplying effective and very easy equipments for most ideal visual appeal and responsive activity of our illustration components. Here is how it work out in the latest edition. ( useful source)
Differences and changes
Different from its forerunner Bootstrap 3 the fourth version employs the class
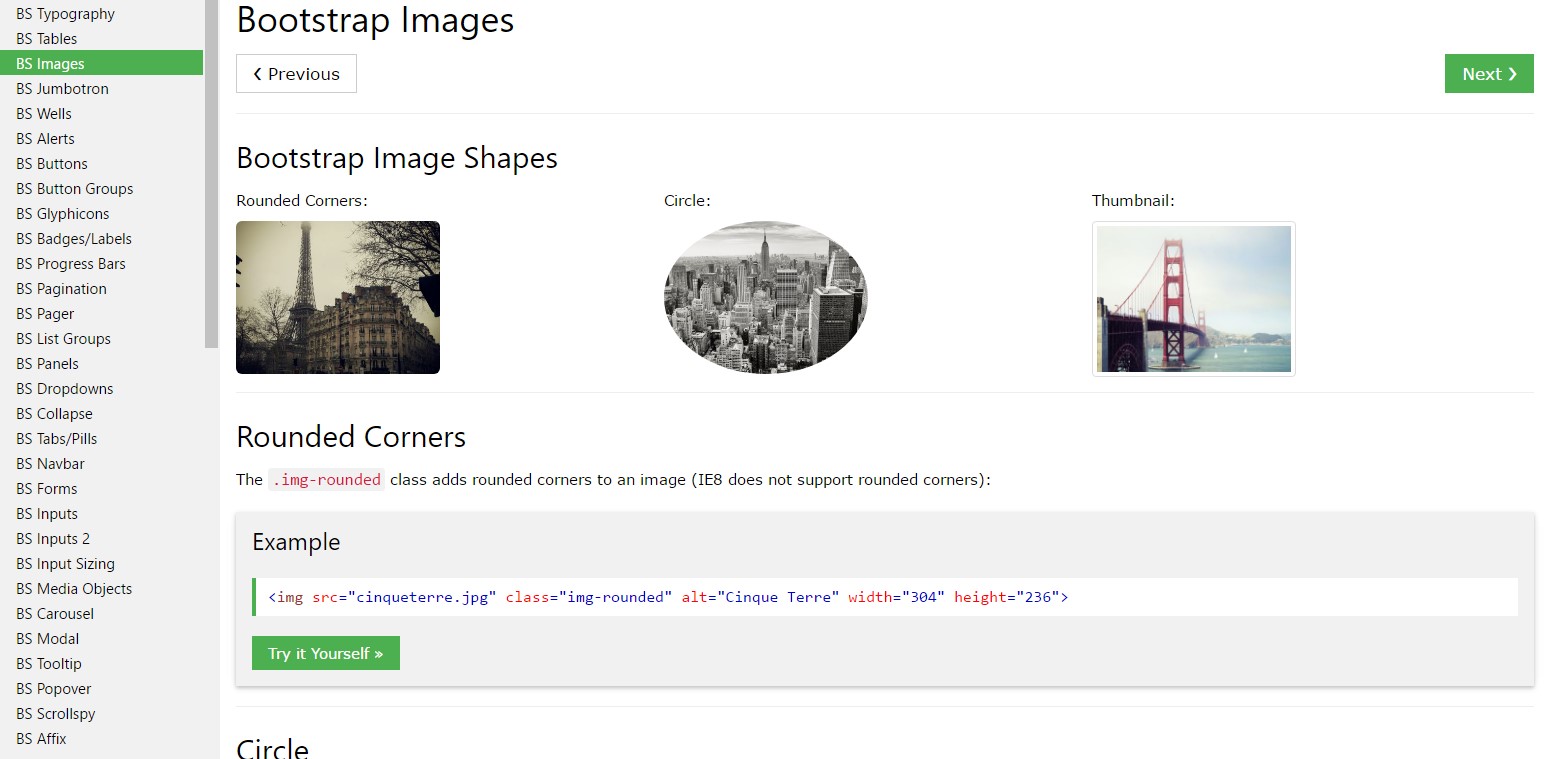
.img-fluid.img-responsive.img-fluid<div class="img"><img></div>You may additionally take advantage of the predefined designing classes making a particular pic oval with the
.img-cicrle.img-thumbnail.img-roundedResponsive images
Images in Bootstrap are actually created responsive through
.img-fluidmax-width: 100%;height: auto;
<div class="img"><img src="..." class="img-fluid" alt="Responsive image"></div>SVG images and IE 9-10
In Internet Explorer 9-10, SVG pictures having
.img-fluidwidth: 100% \ 9Image thumbnails
Apart from our border-radius utilities , you can certainly use
.img-thumbnail
<div class="img"><img src="..." alt="..." class="img-thumbnail"></div>Aligning Bootstrap Image Responsive
When it comes to alignment you may benefit from a handful of really efficient techniques like the responsive float supporters, text position utilities and the
.m-x. autoThe responsive float instruments could be used to put an responsive picture floating right or left and improve this arrangement depending on the measurements of the existing viewport.
This particular classes have utilized a handful of transformations-- from
.pull-left.pull-right.pull- ~ screen size ~ - left.pull- ~ screen size ~ - right.float-left.float-right.float-xs-left.float-xs-right-xs-.float- ~ screen sizes md and up ~ - lext/ rightCentralizing the images inside of Bootstrap 3 used to happen utilizing the
.center-block.m-x. auto.d-blockAdjust pictures utilizing the helper float classes as well as text placement classes.
block.mx-auto
<div class="img"><img src="..." class="rounded float-left" alt="..."></div>
<div class="img"><img src="..." class="rounded float-right" alt="..."></div>
<div class="img"><img src="..." class="rounded mx-auto d-block" alt="..."></div>
<div class="text-center">
  <div class="img"><img src="..." class="rounded" alt="..."></div>
</div>
Also the text arrangement utilities could be chosen applying the
.text- ~ screen size ~-left.text- ~ screen size ~ -right.text- ~ screen size ~ - center<div class="img"><img></div>-xs-.text-centerConclusions
Basically that is simply the way you have the ability to put in just a handful of easy classes to get from standard images a responsive ones utilizing the current build of the best well-known framework for setting up mobile friendly website page. Now all that is actually left for you is finding the correct ones.
Check a number of video guide about Bootstrap Images:
Linked topics:
Bootstrap images authoritative documentation
W3schools:Bootstrap image training
Bootstrap Image issue - no responsive.