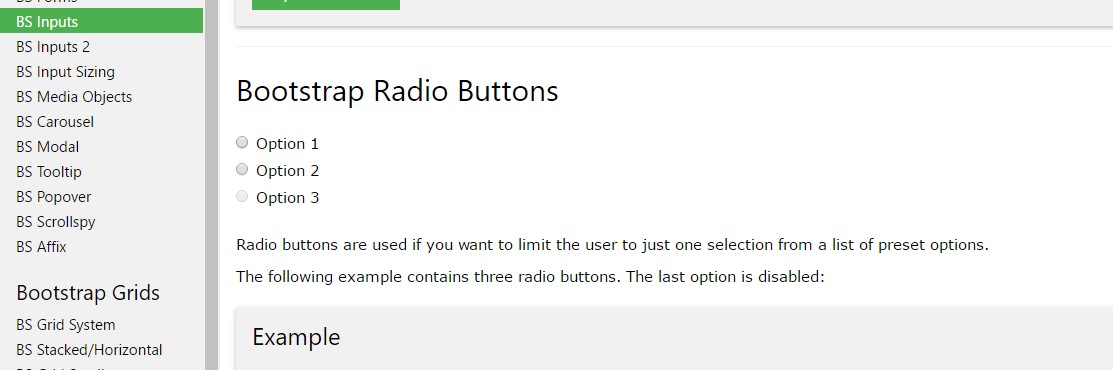
Bootstrap Radio Example
Introduction
From time to time the small things occur to be really the highly essential since the entire picture is certainly a entirely consisting of many tiny elements enhanced and collected if you want to look and feature as a well-oiled shiny machine. Such strong phrases might appear a little too much once it goes to make controls however assuming that you just think about it for a little bit there is simply only a single component enabling the site visitor to pick up one out of a few provided options. And so if you are actually possessing certain forms with this kind of possibilities controls over your various websites does this suggest they are going to all look identical? And more essentially-- would you go for that?
Happily for us the latest edition of the most favored mobile phone friendly system - Bootstrap 4 runs fully loaded with a brilliant new treatment to the responsive behavior of the Bootstrap Radio Button regulations and what exactly is bright new for this edition-- the so called customized form controls-- a combination of predefined visual appeals you are able to simply get and use just to provide the so wanted nowadays selection in the functional presentations of pretty boring form elements. And so let's look exactly how the radio switches are made to be defined and designated in Bootstrap 4. ( read more)
Efficient ways to use the Bootstrap radio button:
In order to establish a radio switch we first require a
<div>.form-check.form-check-inline.radio.radio-inline.disabledIn the
.form-check<label>.form-check-label<input>.form-check-inputtype = “radio”name = “ ~ same name for all the options ~ ”id = “ ~ unique ID ~ “value=” ~some value here ~ ”disabled<input>This is as well the area to define if you wish the radio control to initially load as checked once the page gets loaded. If this is actually what you're after-- instead of
disabledchecked<input>checkedCheckbox and Bootstrap Radio Working representations
Bootstrap's
.button<label>data-toggle=" buttons".btn-groupNote that pre-checked buttons require you to manually put in the
.active<label>Checkbox

<div class="btn-group" data-toggle="buttons">
  <label class="btn btn-primary active">
    <input type="checkbox" checked autocomplete="off"> Checkbox 1 (pre-checked)
  </label>
  <label class="btn btn-primary">
    <input type="checkbox" autocomplete="off"> Checkbox 2
  </label>
  <label class="btn btn-primary">
    <input type="checkbox" autocomplete="off"> Checkbox 3
  </label>
</div>
Radio

<div class="btn-group" data-toggle="buttons">
  <label class="btn btn-primary active">
    <input type="radio" name="options" id="option1" autocomplete="off" checked> Radio 1 (preselected)
  </label>
  <label class="btn btn-primary">
    <input type="radio" name="options" id="option2" autocomplete="off"> Radio 2
  </label>
  <label class="btn btn-primary">
    <input type="radio" name="options" id="option3" autocomplete="off"> Radio 3
  </label>
</div>
Radio button opportunity
As soon as we would like the user to pick out only one of a set of opportunities, we are able to make use of input components of the radio option. ( learn more here)
As soon as there is more than a single element of this one type by using the exact same value within the name attribute, only one have the ability to be selected.

<div class="row">
  <div class="col-lg-6">
    <div class="input-group">
      <span class="input-group-addon">
        <input type="checkbox" aria-label="Checkbox for following text input">
      </span>
      <input type="text" class="form-control" aria-label="Text input with checkbox">
    </div>
  </div>
  <div class="col-lg-6">
    <div class="input-group">
      <span class="input-group-addon">
        <input type="radio" aria-label="Radio button for following text input">
      </span>
      <input type="text" class="form-control" aria-label="Text input with radio button">
    </div>
  </div>
</div>
Conclusions
Essentially this is the strategy the default radio buttons get identified and work along in Bootstrap 4-- now all you require are some solutions for the visitors to choose from.
Inspect a number of on-line video training regarding Bootstrap Radio Button:
Related topics:
Bootstrap buttons official records
Bootstrap Radio button - article
Checkbox radio buttons break entire toolbar styling
